Welcome to the second in a multi-part series that will focus on microphone basics and capturing sound both for streaming platforms as well as podcasting, co-presented by Performer Magazine and Audio-Technica.
In this installment, we’ll take a closer look at microphone basics for podcasting. This will cover the best types of microphones to use if you’re getting your own podcast up and running, and how to position them for the best results and vocal clarity.
Don’t miss Part One, where we discuss Microphone Basics for Streaming Audio.
Or skip to Part Three on Getting Great Sound For Your Streaming Video Projects.

WHY SHOULD YOU PODCAST?
Podcasting has never been easier, both in terms of production and distribution. Many podcasts can be done with one, or a few, simple microphones and then distributed immediately out into the world on a number of various platforms. For musicians, you are already great at creating content! You probably do it every day, and we’re not just talking about songwriting and recording. Nowadays independent bands have become super-savvy at social media marketing and content marketing in general. Which means that every day bands are keeping an eye on metrics, stats, analytics and more to see what sorts of content fans are engaging with on social media, and what’s simply not hitting.
As an artist, you are a wealth of interesting information, whether you realize it or not. Most fans don’t understand the day-to-day of the average working musician, so a podcast can be an easy way to bring fans into your world, in a non-intrusive way, and educate them on subjects that you deal with in your career: touring, the creative process, band management, and so forth. This stuff is interesting and can really tighten the bond between band and fan. The more they feel they know you, the more apt they are to become a “super fan.”
In addition, you probably know a bunch of cool people that can be interview subjects for your podcast: fellow bands, engineers, booking agents, session musicians, club owners, etc. Come on, we know you know some folks with interesting stories to tell. Here’s a way to deliver engaging, regularly scheduled content to your fans with the resources and people you already have at your disposal.

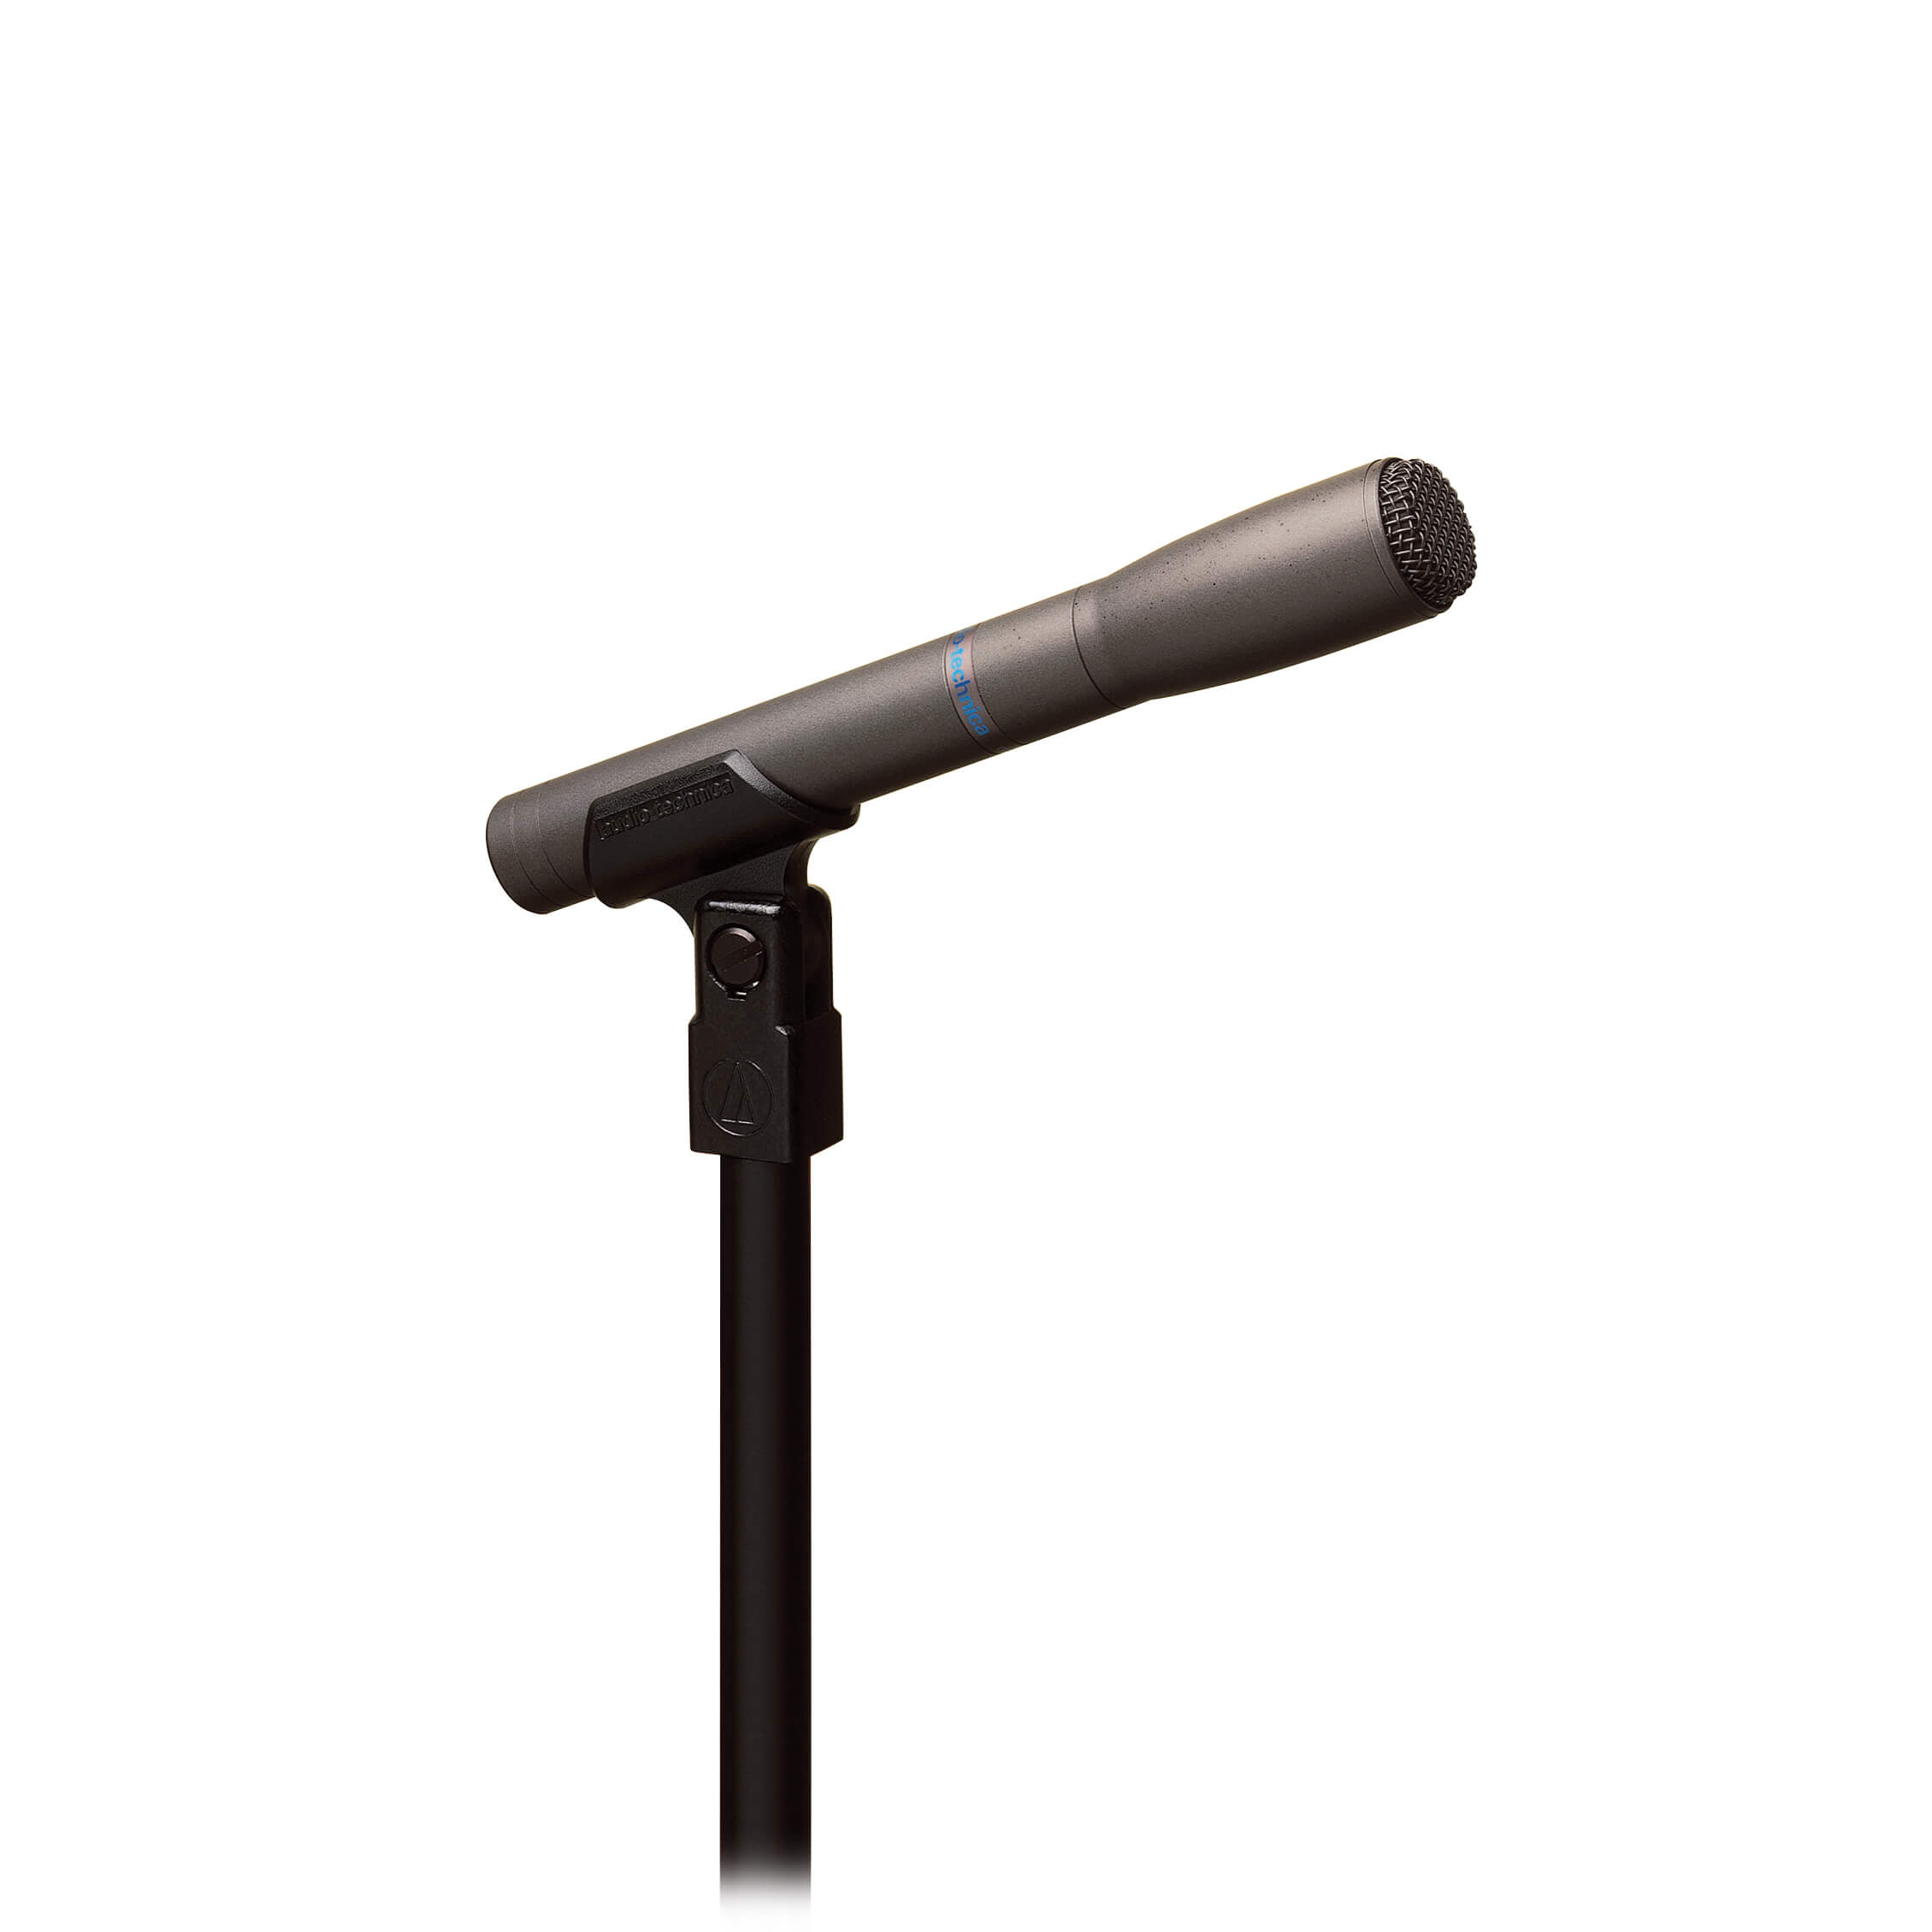
Audio-Technica AT8010 Omni-Directional Condenser Microphone
HOSTING AND PLATFORMS
One thing to keep in mind, regardless of which microphones you’re using or what sort of show you’re doing, is that there will typically be two components for final podcast reaching your audience. The first is hosting, or where you choose to save your audio files on the internet. For musicians doing podcasts, you’re probably already familiar with SoundCloud, which offers podcast hosting services in addition to music streaming services you might already be using. There are countless hosting services, both free and paid, that will keep your files safe and secure.
Once your audio is recorded and hosted somewhere on the internet, your host will be able to provide an RSS feed to podcast networks, or platforms, that can pick up your podcast and all the relevant info about your program as new episodes are uploaded. In this respect, you don’t need to inform the platform each time you create and upload a new episode to your host, that information is gathered for you and then pushed to subscribers or people searching that particular platform for podcasts to listen to.
We’re not going to get into which platforms you want to be on (Apple, Stitcher, etc.) or how to get your podcasts served up to their members in this installment (that’s a topic for another day) — you can find the basic procedures outlined through most of their FAQs. Rather, we want to get into microphone basics for first-time podcasters.
USB vs. XLR MICROPHONES
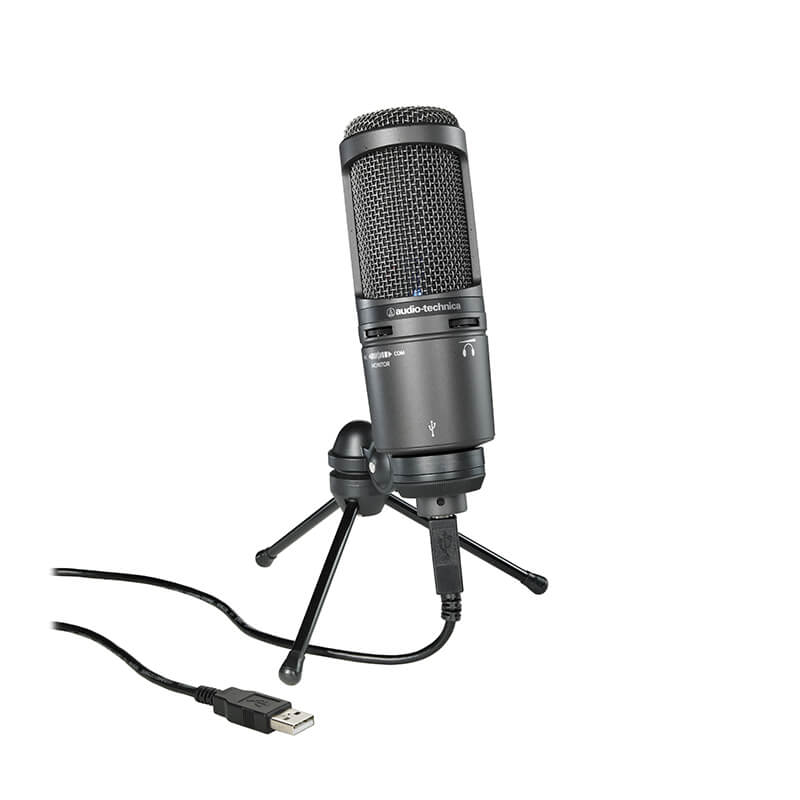
As with the world of internet streaming, you can’t go wrong with an easy-to-use USB microphone. And again, it’s no surprise that our go-to for new podcasters is the Audio-Technica AT2020USB+. For starters, the quality for the price is fantastic, and it couldn’t be simpler to set up. If you’ve never hosted a podcast before, or are new to interviewing people in general, the fewer cables, components and pieces of hardware to learn, the better. With a quality USB mic, you can forego an audio interface (for now) and intimidating DAW setups. Just plug the mic in, open up a simple audio recording program (many PCs and Macs come equipped with basic voice memo or simple track recording software already) and begin a new session. Even iOS and Android devices are capable now of recording simple audio sessions.

If you plan on having multiple guests, or want to invest in better quality mics, you can always get some nice condenser mics that are especially made to handle vocals and plug them into either a small compact mixer and send the stereo output to a recording device or computer. Or, you can get a small one or two-channel audio interface that will take analog audio from your mic’s XLR output and convert that to a digital signal your computer’s recording software, or DAW, can understand. One of the nice things about USB mics, of course, is that the A/D conversion is handled on-board, with one less step to take care of. But a selection of XLR mics and an interface you may own already have means you might have all the gear you need to get going.
RECORDING CONSIDERATIONS AND POLAR PATTERNS
So, how do we use mics for speech? Is it different than how we might record music? In essence, the goal is the same: get the clearest quality recording to start so that you don’t need to fiddle with post-production headaches.

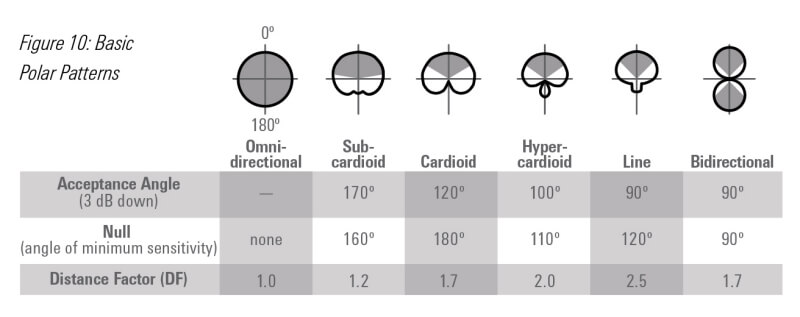
diagram courtesy of Audio-Technica
Let’s start with the simplest scenario: just you and a microphone. In this instance, it doesn’t really matter if you’ve chosen USB or standard XLR mics. What’s going to be important in capturing your voice is the polar pattern of the microphone. Polar patterns determine the sensitivity of the sound hitting the mic’s capsule in relation to where the sound source is coming from. In other words, some mic patterns are set up in such a way to reject sound coming in from the sides, rear or both. Some mics allow audio from all angles to be captured in equal measure. Let’s explore…
CARDIOID POLAR PATTERNS
OK, back to our initial situation: just you and a mic. Here you’re probably going to want to opt for a mic with a cardioid (or some variation thereof) pattern. You may have seen these “heart-shaped” diagrams before when researching vocal mics, but essentially a cardioid pattern rejects feedback well, as well as ambient sounds and sounds that aren’t coming directly from in front of the mic’s pickup. Super cardioid takes it one step further and are awesome for a single sound source in either quiet or loud situations. Position your voice in front of the mic’s capsule, speak clearly, and off you go. Monitor the recording to make sure you’re not speaking “off-axis” or too far away from the mic in general.
OMNIDIRECTIONAL MIC PATTERNS
Like the name implies, omnidirectional mics actually capture sound coming at the pickup form ALL directions. When might this be good for podcasters? Well, it’s an easy way to make sure a larger group of people talking can be picked up, without losing someone who’s speaking into the rear of the mic, or off-center. Perhaps you’ve got a cool 5-piece band in your podcast studio – an omnidirectional mic, like the affordable Audio-Technica AT8010, can be great for picking up all the voices in a room, or even recording an impromptu acoustic jam without the need for a multi-mic setup. For small spaces, this can definitely be the way to go, and offers additional flexibility since it’ll work whether you’re flying solo or hosting a larger group chat. Just be aware that omnidirectional condenser mics require phantom power, so be sure to engage the +48v button on your interface during recording sessions.

diagram courtesy of Audio-Technica
BI-DIRECTIONAL MIC PATTERNS
The final polar pattern that might make sense for podcasters is the bi-directional pattern. Again, these things are named fairly well, so you can imagine how this operates. Yes, it picks up sound equally well from two directions, front and rear, meaning your interview subject sitting directly across from you won’t be rejected like in other mic patterns, and your voice will be picked up equally as well, too. Any noise sources coming into the side of the mic should be filtered out nicely.
You may have heard of these referred to as Figure 8 mics, which makes sense once you see a diagram of their pattern, and these will typically be either ribbon mics or large-diaphragm condensers (again, requiring additional power from your console or interface).
If you know your podcast is going to focus almost exclusively on one-on-one interviews, a nice bidirectional mic, like the Audio-Technica AT4080, could be just the ticket. Ribbon mics like this may cost more as an initial investment, but they’re robust and built to last for decades in the studio. If you’re serious about your podcast endeavor, it might make sense to invest in a high-quality might from the start to ensure that you’re getting top-quality audio from day one.

CLOSING THOUGHTS
We hope this installment at least gets you familiar with some of the options available to artists, and gets you thinking about your own content creation needs. Stay tuned for upcoming parts of the series in the weeks ahead.
Until then, be sure to check out the entire range of Audio-Technica products here and follow Audio-Technica on Facebook, Twitter and YouTube.
