Welcome to the fourth and final part of a series that will provide real-world advice about portable PA systems, co-presented by Yamaha and Performer Magazine. We’ve already addressed choosing the right portable PA system for your needs, setting up a portable PA system for live gigs, and how to control and suppress microphone feedback. In this installment, we’ll go a little bit deeper as it relates to EQing, mixing and setting up the perfect vocal mix using your portable PA system.
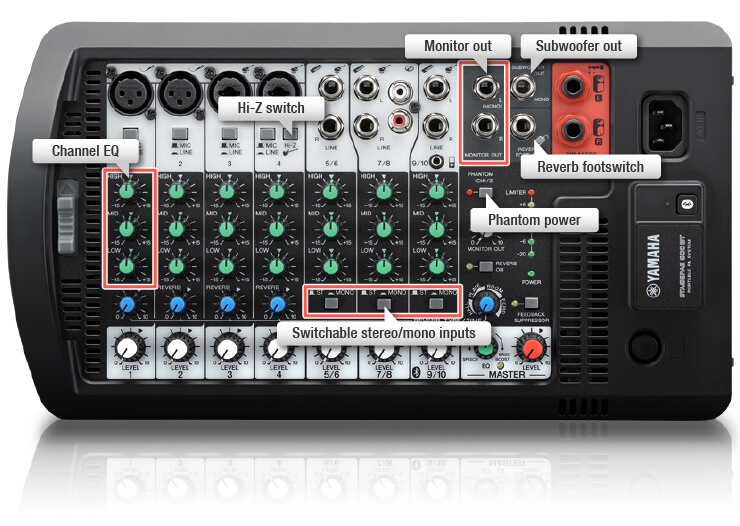
Once again, Yamaha has been kind enough to loan us a number of products and accessories from their professional audio range, which we’ll be incorporating into our series as we go – including the new STAGEPAS 400BT, a powerful portable PA system with Bluetooth, and its sister unit, the STAGEPAS 600BT.
Without further ado, here are a few final tips you can implement at your next gig that will ensure great sounding vocals with your portable PA.
S-S-SUSSUDIO (KILL THE SIBILANCE)
Unless you’re covering Phil Collins, those annoying “s” sounds can be problematic in a live mix, especially if your portable PA system doesn’t have an on-board de-esser (and most won’t). So, if you find that your vocalist is hitting those “s” sounds a bit too harshly, learn which frequencies to cut and you may be able to nix the issue at the board. And this doesn’t just affect vocalists in a musical setting; there’s nothing worse than a public speaker whose speech is ruined by unwieldy sibilance.
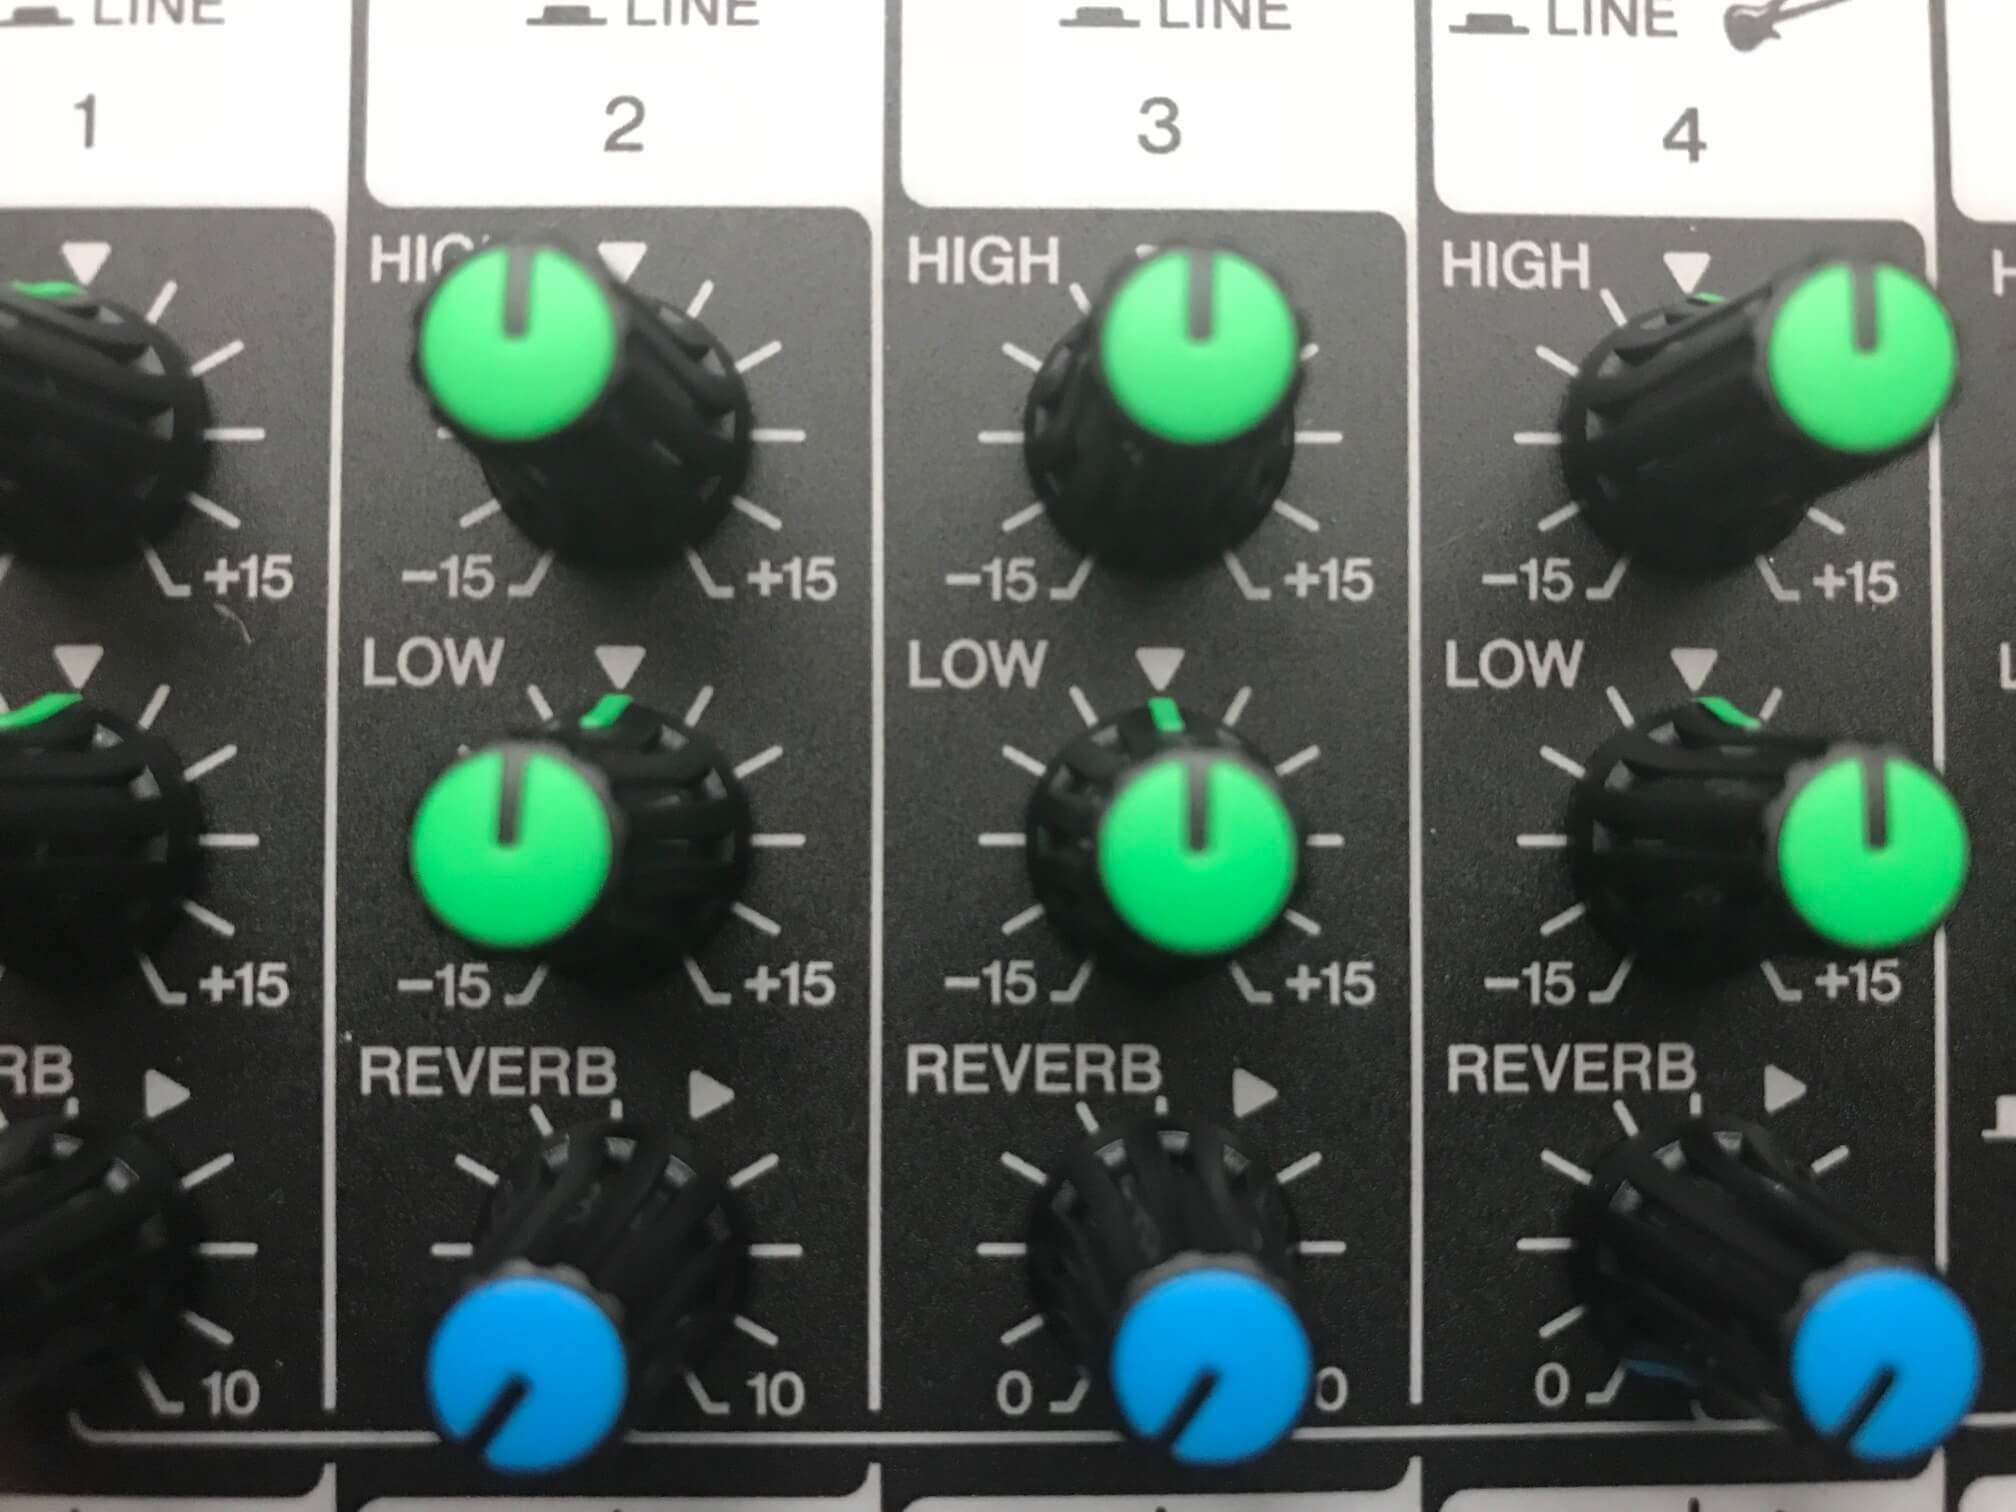
Since most sibilance can be traced to the 5-8kHz range, a slight trim using the High EQ knob on your portable PA’s mixing board might be all you need to tame the problem. Which leads us to…
CUT FIRST, OR “LESS IS MORE”
For vocals especially, when fine-tuning a mix, oftentimes you’ll have the urge to “ride the faders,” thereby increasing either the volume of the vocal channel, aspects of its EQ curve, or both. While that seems like a natural instinct (bigger is better, right?), we recommend that you try identifying and cutting offending or troublesome frequencies first using EQ and volume trims. For live mixing, especially, killing the problem can be the solution you’re really looking for in order to get a better sound, rather than just boosting something without addressing the underlying issue.
Now, if the problem is simply that the vocals are too low in the mix, then yes, go ahead and gently increase the volume until it’s as clear as you’d like in the overall sonic balance. One thing that can oftentimes come in handy is a high-pass filter for live vocals. Since HPF’s only allow frequencies higher than a certain cutoff point through the filter, you can eliminate boomy bleed from drums, bass or other on-stage instruments coming through the vocal mic when you’re performing in more intimate stage settings.
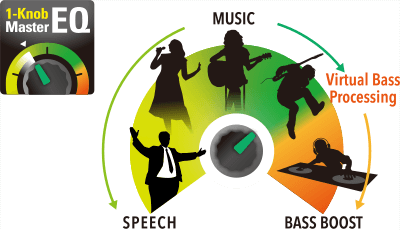
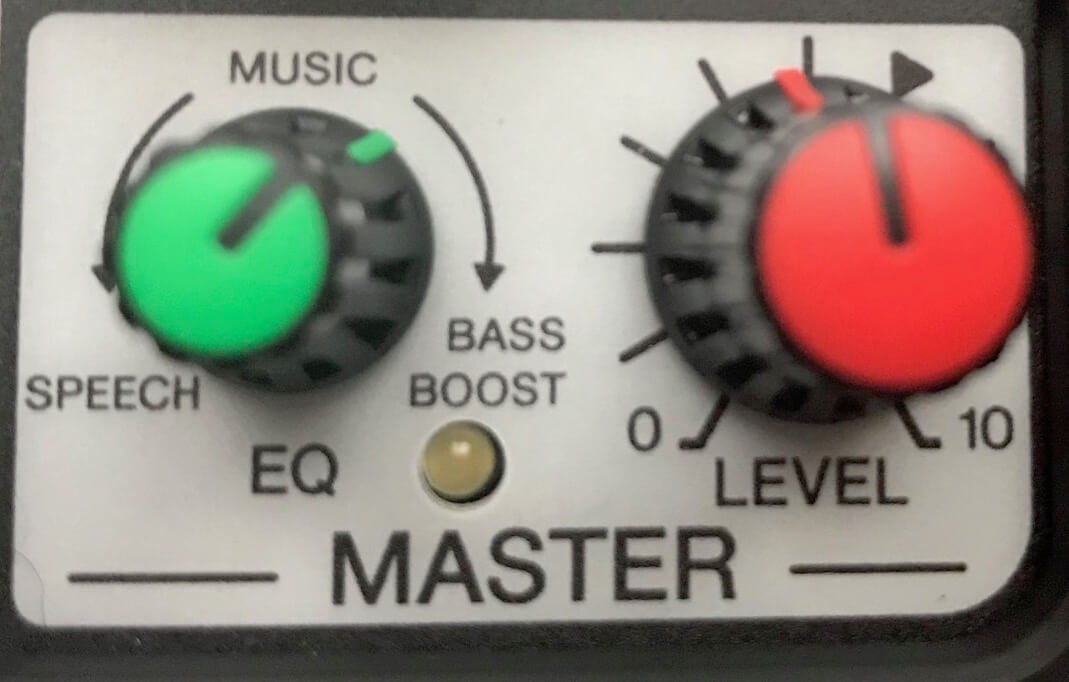
One of the settings we really like on the STAGEPAS lineup is located in the Master control section, and it’s the 1-Knob Master EQ. What’s great about this is that if you aren’t a trained engineer who knows every single instrument and vocalist’s frequency range, it doesn’t matter. You can still get great vocal sounds either for music or speech with the sweep of one dummy-proof knob. For portable PA users, this can be a life-saver, since a lot of bands setting up these units will likely be in charge of their own sound mixes.
COMPRESSION
As it relates to the studio, we continually hear a lot of albums that have far too much vocal compression applied. One of the problems this creates is a lack of dynamics in what should be one of the most dynamic parts of the track: the vocals.
In a live setting, try dialing back the compression settings, if you’re using compression at all on your vocal channel, and instead use the volume fader to control how the vocals sit in the mix. If you must use compression, we recommend trying a ratio no higher than 3:1 for live use, along with shorter release/attack times.
A NOTE ON BACKGROUND VOCALS
So far, we’ve been talking almost exclusively about lead vocalists in the mix, since they’re typically the focus of the song. But since many groups feature background harmonies, there are some ways to make sure those sound good in a live setting, as well. For starters, EQ’ing background vocalists is a bit different than your lead. You can feel free to experiment here a bit more if feedback suppression is a concern (see our previous article for more on that). More aggressive EQ’ing on background singers is usually OK for the mix, just be sure that volume-wise, the leading tone (harmonically, that is), gets the most volume.
For background vocals in unison (not harmonized), try your best to level-match them for best results, at a volume that’s not competing with the main vocal line. We tend to find, although this isn’t always the rule, that imbalanced unison male vocals, especially, are really egregious even if they’re lower in the mix. So, smooth that out at the board, and you shouldn’t have any issues.
For harmonized vocals where you can clearly discern the chordal harmony, try to balance the vocals so that no one voice is louder in the mix. Here’s where a touch of compression at a low ration (even 2:1) can come in handy. Try treating these vocalists as one unit (even if they’re on separate channels), and apply the same volume, EQ and fx levels to each for cohesiveness.
A NOTE ON VOCAL FX
While the studio is a great place to experiment with all sorts of crazy fx to nail your sound, in a live setting those don’t always translate as well.
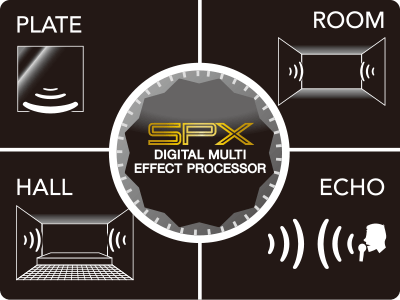
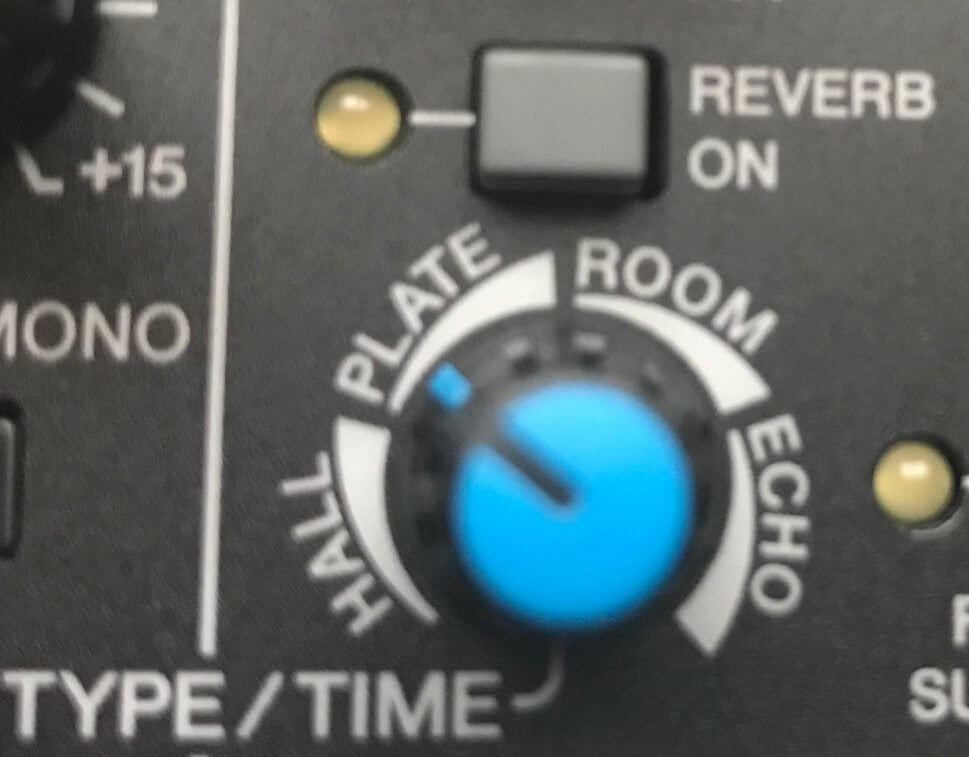
There are, however, many applications where tasteful reverb or echo can be useful on an emotional vocal performance. The STAGEPAS 400BT that we’ve been using has as great, sweep-able reverb setting that is on/off switchable, and allows for variable control between hall/plate/room and echo fx. The DSP inside these Yamaha units is very musical, so you won’t experience any digital anomalies like stepping or other such issues when you change the rate of the effect on-the-fly (that would be really terrible in the middle of a live performance).
For most situations, the old adage of “less is more” still rings true. Just as with compression, the key in most instances is to add a tasteful amount of reverb that adds a lushness to the vocal signal without overpowering the actual performance, drenching it in muddied layers of echo. The STAGEPAS series all offer a footswitch input to mute effects between songs for a more professional performance, as well.
The other issue you may run into with applying too long an echo/reverb time to your vocal mix is reflections caused by the space you’re performing in. If you’re setting up a portable PA system in less-than-ideal spaces, then walls, ceilings and floors can bounce sound around and compete with the reverb/echo effects you’ve added to your signals. This leads to a confused audio sensation with your audience, which from a sonic standpoint, can be nauseating.
For spaces with their own natural reverb, like high-ceiling churches, make use of the natural reverb and trim the on-board fx for a more focused vocal sound.
CLOSING THOUGHTS
We hope these final tips got you thinking about the best mix possible using your portable PA system. Head to https://usa.yamaha.com/products/proaudio/index.html to learn more and to find the portable PA products and accessories that will fit YOUR band’s needs.
Be sure to check out the entire range of Yamaha Professional sound products here and follow Yamaha Music USA on Facebook and Twitter.