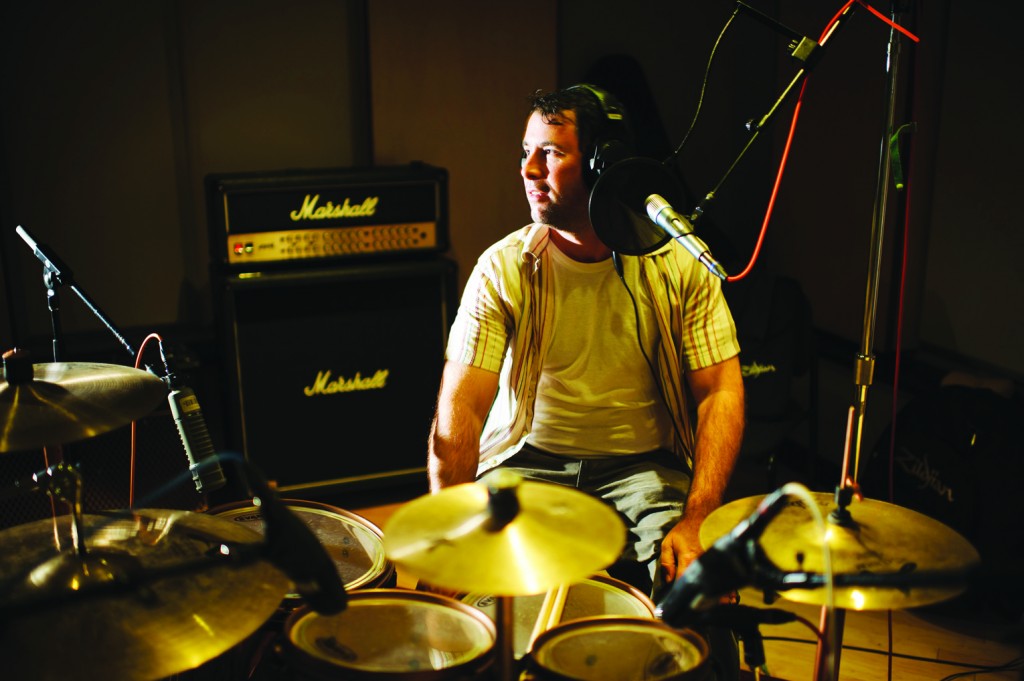
After microphone selections have been made and sent into the control room, it’s time to start thinking about getting the sound into DAW – but first you’ll need to choose what the signal will pass through (mic pres, EQs, compressors, etc).
MIC PREAMPS
Getting sound into the control room will require going through the mic panel. It’s usually best to lay the mic panel out the same as it will arrive at the DAW inputs. This will help cut down on confusion. DAW stereo inputs are always odd and even, so when it comes to the overhead and the room mics, it’s best to plug them into the mic panel the same way, odd then even, even if you have to skip one input to get to this format. Once the sound has passed down the mic lines and made its way into the studio, it’s time to figure out a mic preamp. With drums it’s usually best to choose a mic pre with a built-in EQ or at least pass through an EQ before it gets to the DAW. That way it’s possible to due a little subtractive EQ to get some of the junk out of the sound that is not needed for each independent drum.
Looking at preamps, here are some choices that will return solid sound. API will have that rock edge that will return nice results. Neve mic pres are always nice, the older the better, as long as they are good condition and there isn’t a lot of noise in them. Some of the others to look for are Vintech copies of the Neves, SSL, Chameleon, and Amek 9098s.
EQ AND COMPRESSION
Now that the preamps have been chosen, it’s time to figure out if an EQ will be necessary. When it comes to EQing, if something is taken away from the sound with through equalization, there will be no getting it back. So be careful not to paint yourself into a corner when it comes to mix time. The same goes for compressors, if it gets over compressed on the way to the DAW. In many cases, compressors will help add a little punch to the sound and can be used to control the dynamics of the recording.
When choosing a compressor for drums, it’s usually best to stay away from tube compressors due to their inherently slow attack. This will usually not benefit the fast transients of drums, but it can work for the room mics or even the overheads. The DBX 160a is a relatively cheap option that will work well for drums. It’s important to test them out, so when the time comes it will be easy to find what fits the sound that you’re after. When compressing the rooms it will return some interesting results to really crush them. This will give a pumping to the rooms along with pulling up the tone of the room.
If the drums are being cut in a nice live room, that’s always a plus. With the overhead microphones, I prefer to keep them as clean as possible and do any EQ or compressing in the mix stage rather than on the way into DAW. It will provide more options in the long run. With all of the other drums, if compression is used, then using it lightly will assure that the dynamics of each drum are not killed.
TRACKING TIPS
If the typical EQ spots are not known, it will usually be best to set the bandwidth to an average setting – not wide and certainly not a notch setting. Then turn that band up a bit and sweep its range to find where the “junk” is. Then subtract that from the sound, but not by too much so as to not over-EQ any drum’s natural frequencies.
There are certain places on the drums where adding a little EQ can help the good things stand out. Such as 2 kHz on snare (the crack of the snare), or 60Hz/100Hz on the kick along with click of the beater – this frequency will vary depending on the type of music that is being recorded. It’s always good to become with familiar with these EQ points so they can be reached quickly and easily. Taking a look at the attack, release, and the ratio of the compressor. To get a little more punch, it’s best to set the attack slower to preserve the transient of the drums and set the release a little quicker with a ratio in the middle. If the desired sound is a little smoother, then do the opposite; set the attack a little quicker and the release a little slower. This will smooth out some of the transients of the drums.
USING YOUR DAW
Once inside the DAW, it will help to have everything laid out as simply as possible. It’s always best to shoot for the cleanest sound during tracking so that things run smoothly in the computer, but if for some reason something was overlooked or the sound is not where you wanted it to be, remember that in today’s world of audio there are plug-ins such as Sound Replacer, Drumagog, TL Drum Rehab, and more that will allow the individual drums to be replaced. If the timing slips here and there and you are working in Pro Tools, knowing your way around Beat Detective can really help to get things back in line. These are by no means better choices than a good drummer, but they can help in a pinch.
Dustin Lefholz is a professional audio engineer. He has certification with a variety of consoles and DAW systems including SSL, Neve, Amek, Trident and Pro Tools. Lefholz has over 170 album credits to his name, including tracking, mixing and mastering.

