Welcome to the third in a multi-part series that will focus on microphone basics and capturing sound both for streaming platforms as well as podcasting, co-presented by Performer Magazine and Audio-Technica.
In this installment, we’ll take a closer look at some tips for improving audio when it comes to putting your audio on streaming services. This will cover basic advice on setting up mics for optimal performance, technical tidbits to help improve your audio clarity, and other pro tips to enhance your overall presentation.
Don’t miss Part One, where we discuss Microphone Basics for Streaming Audio.
or Part Two, where we explore Microphone Basics for Podcasting
![]()
THE PROXIMITY EFFECT
Let’s take a look at a real-world example where artists would be conscious of how their audio for streaming stacks up. Say you’re making product demo videos for YouTube — either as a way to strengthen your own brand as an influencer, make some extra revenue, introduce new fans to your band, or simply for fun. One of the biggest challenges is getting across clear spoken dialogue that will allow your viewers to understand what you’re saying without difficulty. Now, miking up instruments and studio vocals is one thing, but how about just talking to camera?
One obstacle that novice users run into is something called the proximity effect with directional microphones. Put simply, the proximity effect is when the frequency response of your mic changes (typically in an undesirable way) when the sound hitting the mic (i.e. your voice) is either too close (or literally on top of the mic) or when you’re off-angle to the mic’s diaphragm.
Start off a few inches away from the mic and see how the response deepens as you move in tighter. Then listen for the difference as you back off a bit. Sometimes it’s subtle, sometimes far more noticeable – and definitely something to be aware of when capturing speech.
Oftentimes this effect can lead to a fat, boomy lower-end emphasis, especially if your lips are right up on the mic, or an unnatural thinning of the timbre as you move too far from the mic. The proximity effect is cool if you’re going specifically for that type of effect (think of how deep-voiced radio DJ’s come across), but 99% of the time you’ll want to avoid these issues with straight speech. So, with directional mics, try experimenting with the “sweet spot,” which is a combination of the right distance away from the mic, and the proper direction you’re addressing the mic to make sure you’re on-axis.
GOING OMNI
Alternatively, there’s an even easier way to avoid the proximity effect (and some other unwanted problems which we’ll address in a minute), and that is to use an omnidirectional mic.
Most proximity effect issues are due to the directional nature of cardioid microphones. With an omnidirectional pattern, you eliminate that element from the equation. For streamers who are trying to capture good audio in natural settings, such as outdoors or in non-treated rooms, omni mics can also help reduce annoying wind “whooshes” that we’ve all heard on amateurish online clips. They can also help capture a more natural room tone if you’re not in a studio designed for recording.
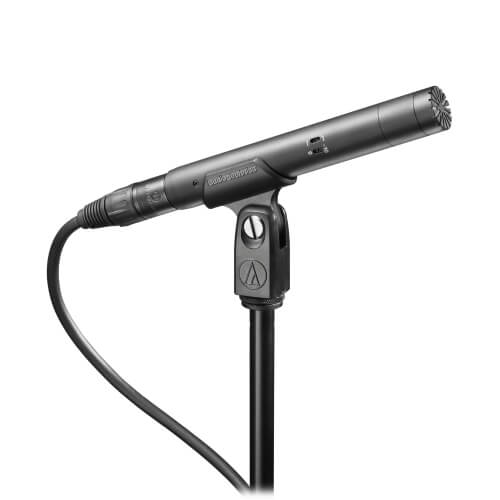
Lastly, if you’re the type of plosive personality who’s constantly popping their P’s (man, trying saying that fast), omnidirectional mics like the Audio-Technica AT4022 are not as sensitive to those obnoxiously percussive consonant sounds as their directional counterparts. Just a pro tip you might want to explore.
MONITORING MATTERS
Just as trying to capture clean audio is imperative when it comes to creating web-based video content, it’s equally important to be monitoring that audio as it’s being recorded so you’re not ending up with any surprises during the editing process that can’t be corrected. Garbage in, garbage out, right?
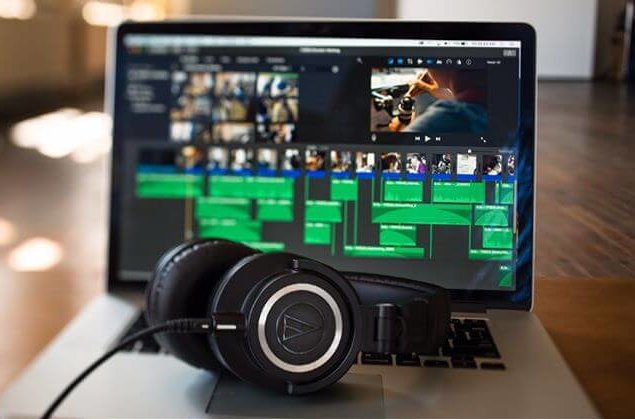
One simple way to do this is to have someone, either yourself or someone on crew (if you’re lucky enough to have a crew) use a good pair of over-ear headphones specifically designed for monitoring purposes. We don’t recommend open-back designs for this type of work as there can be significant audio-bleed coming from the ear-cups. Closed-back designs offer the proper isolation so that whoever is monitoring the audio being captured isn’t distracted by outside noise and isn’t distracting others who can hear the audio from the headphones bleeding into a live production.
It should come as no surprise that our go-to affordable headphones choice for years have been the Audio-Technica ATH-M50x. The M50x’s feature large 45mm drivers that simply deliver crystal-clear sonics across the frequency spectrum. So, monitoring speech, music and any other audio being tracked as part of your production is a snap. Then, when it is time for mixing the final video’s audio track, the M50x’s are ideally suited for studio work, with fantastic isolation.
CLOSING THOUGHTS
We hope this installment puts some ideas in your head when it comes to streaming audio (and video) on the web.
Be sure to check out the entire range of Audio-Technica products here and follow Audio-Technica on Facebook, Twitter and YouTube.