5 Cool Ways to Incorporate Tape in Your Next Project
For some odd reason we often discuss the use of tape as some sort of analog vs. digital theoretical battle, when the truth is quite the opposite. The modern creator must find ways to incorporate both methodologies into a creative workflow to achieve the most compelling results. If you want to harness the magic of magnetized rust particles on your next release, here are your main options…
1. Track to tape. This is the traditional method that most of us associate with tape. An 8-track only has enough room for either sparse or primitive productions, a 16-track has enough tracks for a typical three- or four-piece. You’ll likely need a big-boy 24-track 2” machine to capture large ensembles or spread out with lots of mics. This “all the basic tracks hit tape, maybe the overdubs too if there’s room” method captures lots of character, but has substantial tape costs and requires a proper studio, or a damn well-equipped project one. Remember, you can always dump the tracks into your DAW for extensive overdubbing.
2. Print subgroups to tape. In this scenario your digitally recorded tracks are appropriately grouped and printed to tape in stereo pairs (drums, bass, instruments and vox, all going to eight tracks). These analog “stems” are flown back into the DAW for editing and mixing. Maybe the resultant sound is a bit too ”analog-y”? These stems can be blended with the digital tracks at some level less than full. Such “NY-style” parallel-processing allows you to choose the precise amount of color you add to the production.
3. Fly individual elements to tape. Golden-ears and discriminating artists may want a singular element of their production to get wildly analog’d while other elements remain digital for contrast – easy peezy! Fly the key elements to tape, perhaps tainted crazily by hot levels or funky methods (crinkled tape, varispeed manipulations, tricked-out bass response, etc.) and re-align manually in the DAW. Such affairs are seldom subtle.
4. Mix to a 2-track. Even if all your tracks are digital (or even mixed “in-the-box”) you can still print your mix to an analog 2-track. This process may not maximize color like scenario #1, or allow the blending of scenario #2, but it can offer a certain musicality that’s hard to emulate (even with plug-ins). The amount of analog-goodness is determined by the type of tape, the tape width and speed, as well the set-up details (biasing, levels, noise reduction etc.) An expensive deck can maintain top fidelity, whereas an affordable one may offer only profound coloration. Expect to experiment.
5. CLASP. Maybe you want subtle, maybe not, maybe you want total tape control, maybe you want the ultimate analog experience? This “closed loop analog signal processor” system allows total flexibility to incorporate any speed/formula/methodology into digital productions. Only top-shelf studios have it, it works like a charm and it’s freakin’ expensive, but this is the ultimate pairing of a DAW and a deck. Check out www.endlessanalog.com for more info.
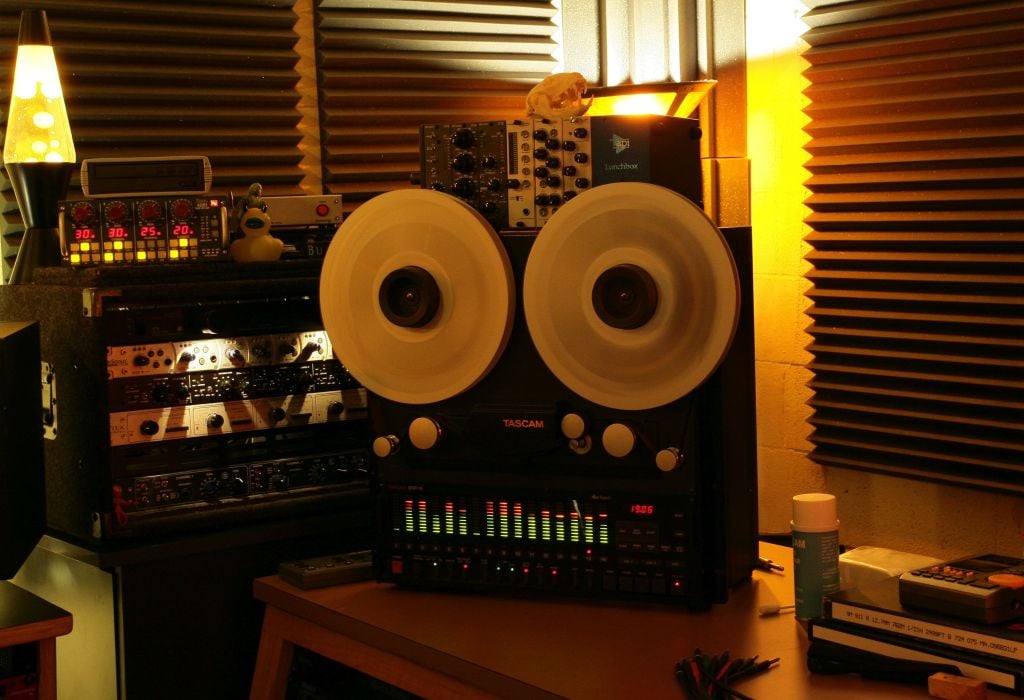
Whether you’ve got access to a beat-out consumer 1/4” 2-track, a workhorse semi-pro Tascam 1/2” or a pro-level multi-track 2” (refurbs are surprisingly affordable these days), there’s always a way to artfully work some rusty plastic into a modern production. Good things seldom come easily and analog tape is no exception, so be prepared to either hire a pro or spend lots of time experimenting!
ABOUT THE AUTHOR
Rob Tavaglione is the owner of Catalyst Recording in Charlotte, NC, and a veteran audio writer who writes a column, feature stories, editorials, blogs and reviews gear for Pro Audio Review Magazine and Pro Sound News. Rob has written over 200 articles and reaches over 150,000 audio engineers a month through print and web. For more, visit www.catalystrecording.com and follow Rob on Twitter @RobTavaglione.
